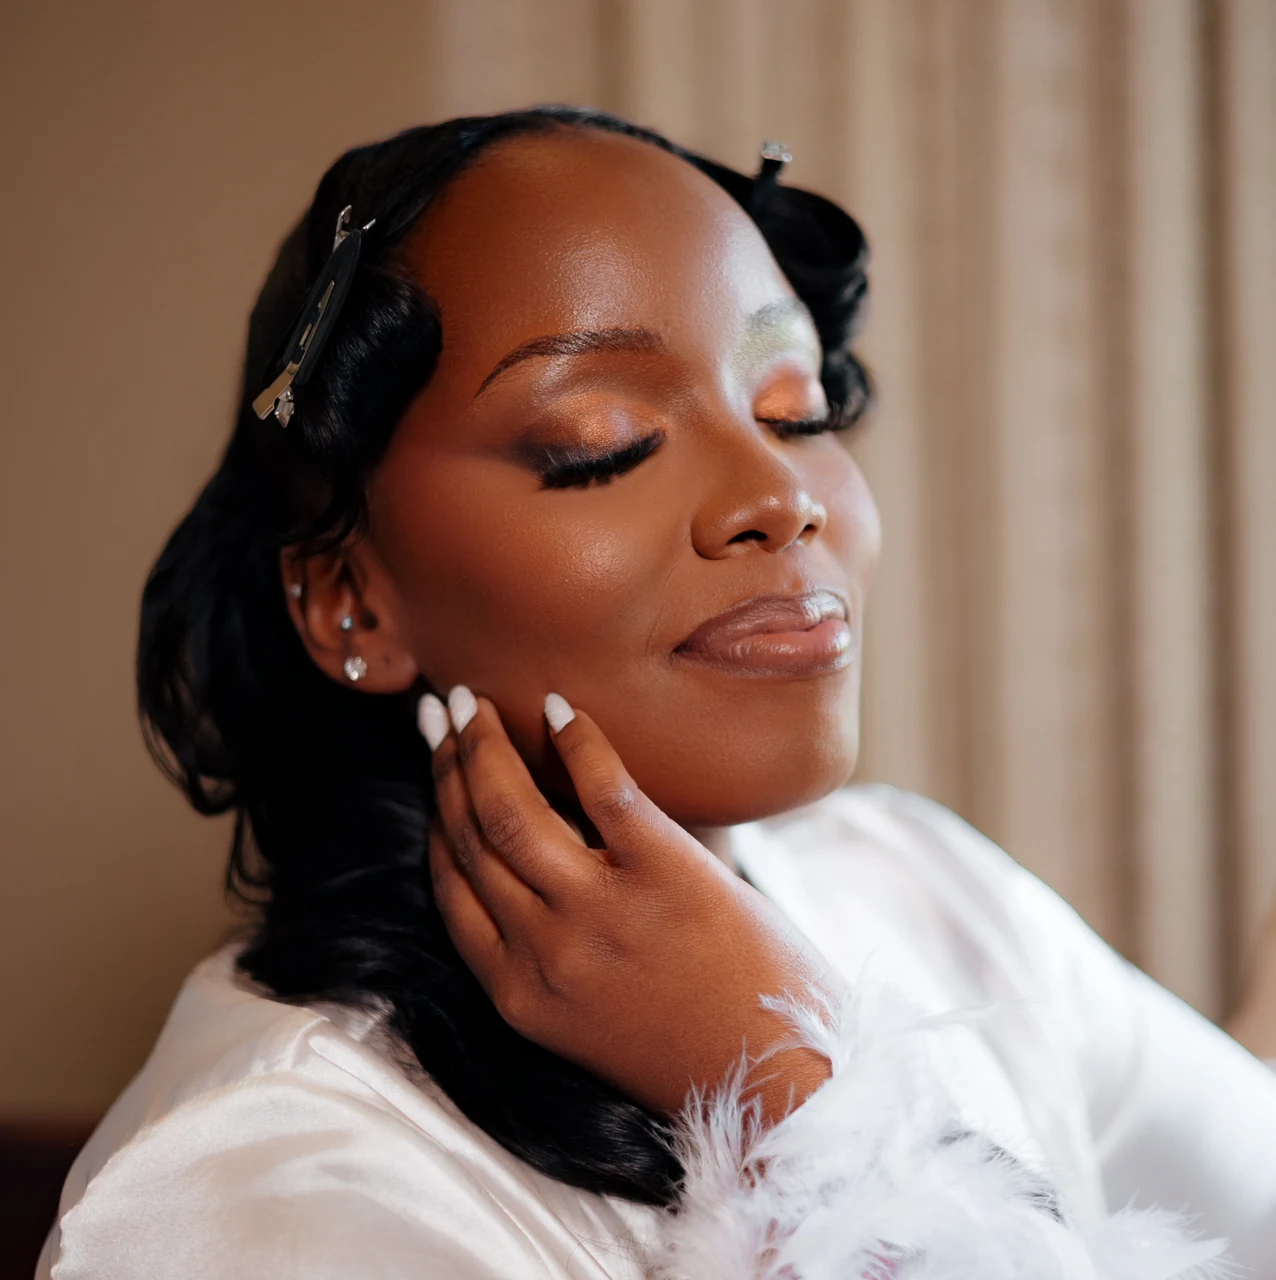
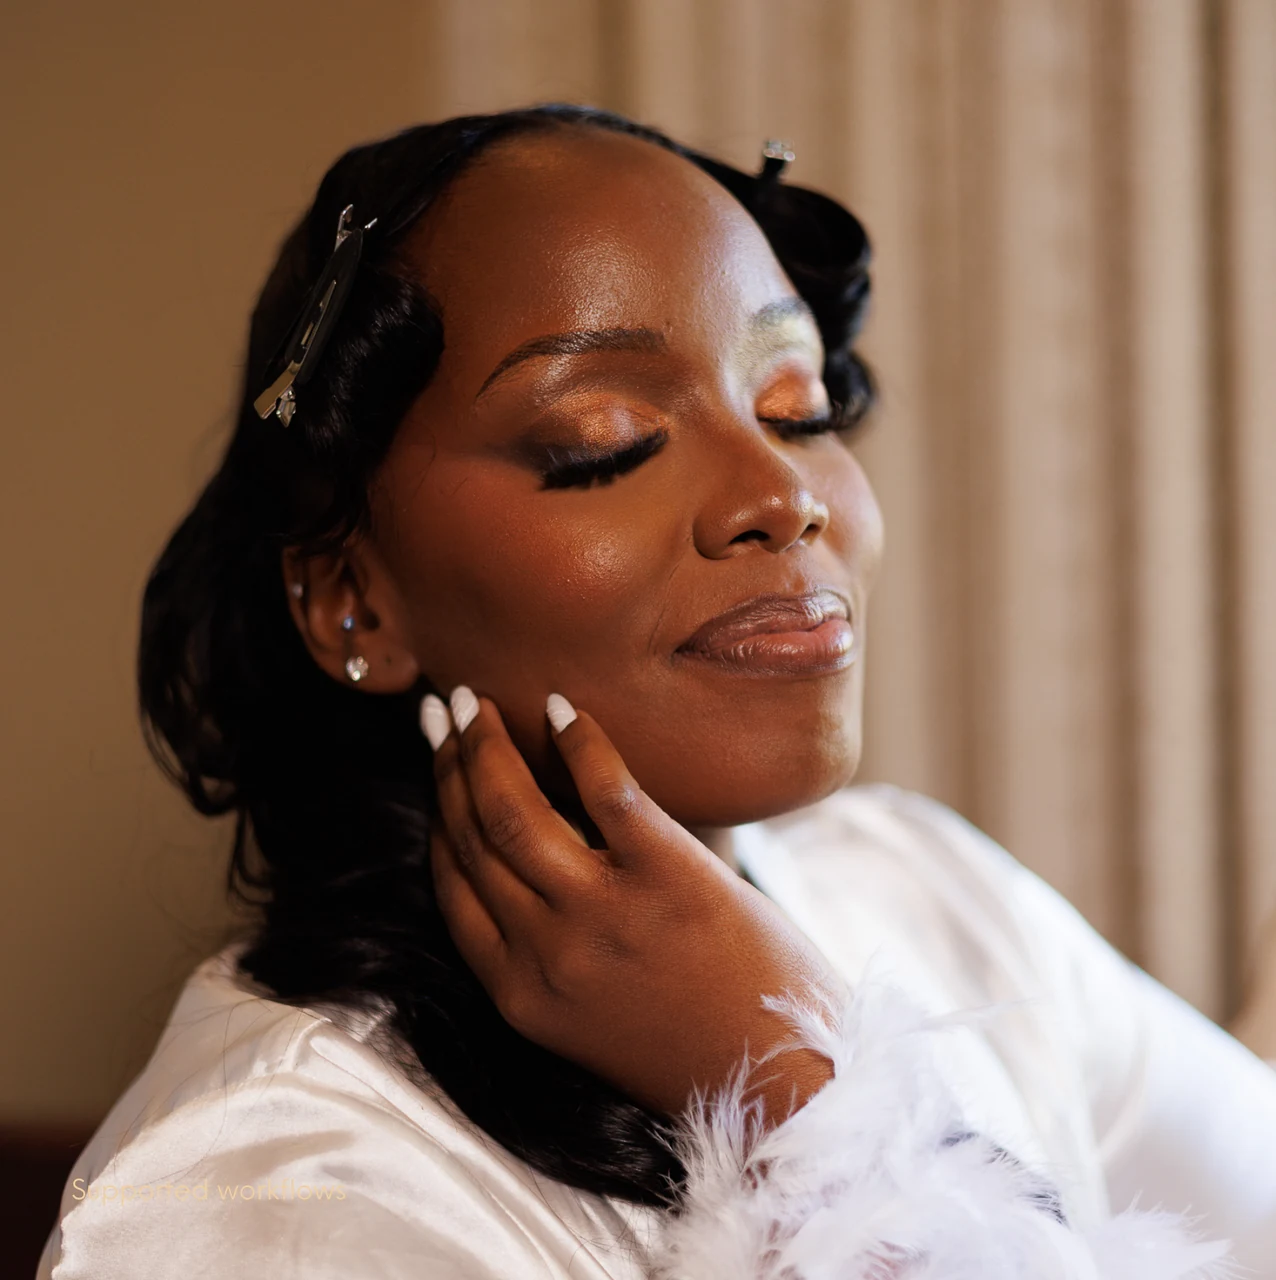
How do I brighten dark skin in Lightroom without making the person look lighter?
· 8 min read
Brighten dark skin with Exposure on the photo or an Entire Person mask, and don't raise Orange Luminance, which lightens the skin against neutrals. This guide gives you a seven-step Lightroom Classic workflow and three checks that help you see whether the person still looks like themselves.
Short answer
How do I brighten dark skin in Lightroom without making the person look lighter?
Raise Exposure on the whole photo, or on an Entire Person mask when only the person is too dark. Don't raise Orange Luminance to brighten skin: it lifts the skin against neutrals like a white shirt, and that reads as lighter. If the skin turns orange as it brightens, check white balance first, then correct the colour in Point Color. Check the result against the untouched file, a reference photo of the person and Lightroom's RGB readings.
Brightening and lightening are different edits
Lightroom can make a person look brighter in two ways, and only one keeps the skin in step with everything around it. Exposure raises the light on the whole frame, so skin, clothes and background move together. The Luminance sliders in the Color Mixer, part of its HSL controls (hue, saturation, luminance), change the lightness of one colour band. Each band covers a fixed range of similar colours that you cannot narrow (Rob Sylvan, Lightroom Killer Tips).
Most of the dark-skin editing guides we read while researching this article recommend raising Orange Luminance. Those guides aim it at skin. Raising it lightens everything in the orange band, warm walls and wood included. Neutrals such as a white shirt, the whites of the eyes and a grey wall stay where they were. The skin gets lighter against the neutrals around it. That is lightening, and it gives you a brighter-looking photo of someone who now looks lighter than they are.
When the camera has underexposed the person, the photo is missing light. Exposure puts that light back and keeps the skin's relationship to everything else.
Why edits of dark skin drift lighter
Film and cameras were built with light skin as the reference. Lorna Roth, a communications scholar at Concordia University, told NBC News in 2022 that "film chemistry was made to reflect a certain lightness" (NBC News). Syreeta McFadden, a writer and English professor at the Borough of Manhattan Community College (BMCC), described metering against a white body. In her words, "all other skin tones become deviations from the norm" (BuzzFeed News).
The same default shows up in presets. In the NBC News story, wedding photographer Cassie Lopez said presets that lift the shadows a lot "are built to cater to lighter skin tones" (NBC News). One bride in that story said her skin was brightened in her engagement photos.
In 2021, Florian Koenigsberger, Google's Image Equity Lead, listed "over-brightening or unnaturally desaturating skin" among the unfair experiences image tools can give people of colour. His team set the goal as a camera that shows people "not unnaturally darker or brighter" (Google). That is a good standard for editing too.
"Dark skin" is also a wide range. Google's skin tone work uses the Monk Skin Tone Scale, 10 tones developed by Ellis Monk, a Harvard professor and sociologist. In Google's research with U.S. participants, people found it more representative of their own skin than the tech industry standard, especially people with darker skin (Google). A fixed "raise Orange Luminance for dark skin" recipe applies the same move to every one of those depths. Depth here means how light or dark someone's skin is, whatever light falls on it.
What each control does to the person
| Control | What it changes | What it does to the person |
|---|---|---|
| Exposure | The light on the whole frame | Skin, clothes and background brighten together |
| Shadows | The darker tones in the frame | Brings back detail; a big lift raises dark skin faster than lighter tones |
| Exposure on an Entire Person mask | The light on one person | Brightens the whole person, clothes and hair included, and leaves the background alone |
| Exposure on a Face Skin or Body Skin mask | The lightness of the skin only | Lifts the skin against the person's own clothes and eyes, which is lightening |
| Orange Luminance | The lightness of one fixed colour band | Skin, and anything else orange, gets lighter against the neutrals |
| Point Color | The hue, saturation and lightness of one colour you sample | Corrects an orange shift in the skin without changing colour across the frame |
Point Color is Adobe's tool for targeted colour changes, and Adobe says it can fix colour shifts in skin tones (Adobe Blog). In Lightroom Classic its sliders are labelled Hue Shift, Sat. Shift and Lum. Shift (Andrew S. Gibson, Mastering Lightroom).
If you want a preset as your starting point, ShopOmilia's collections were built from Omilia Inc.'s own client work. Each product page shows before and after images on those photos. Run the checks below on our presets too.
How to brighten dark skin in Lightroom, step by step
What goes in: the untouched file (RAW if you have it) and one reference photo of the same person. What comes out: a brighter photo in which the person's skin depth and undertone still read as theirs. Undertone is the warm, cool or neutral colour beneath the surface of the skin.
These steps use Lightroom Classic. Lightroom desktop and mobile lay the tools out differently and may not have Reference View or the RGB readout.
- Pick the reference before you edit. Use a frame from the same session, in similar light, where the skin looks right, or a photo the person has told you looks like them. Reference View puts it beside the photo you are editing: press Shift+R, or click the R|A icon in the Develop module (Julieanne Kost).
- Set white balance from a known neutral in the same light as the face, such as a grey card (white balance for dark skin). If nothing is reliably neutral, treat it as a visual estimate and compare with the reference. That way you are not brightening a colour cast.
- Take two readings. Hover over the lit side of a cheek and note the R, G and B percentages under the histogram (Tim Grey). Then read a mid-tone neutral in the same light, such as a grey wall or a mid-grey jacket. Avoid a bright white, which is already near the top of the scale. If you will mask the person in step 5, take the neutral from something they are wearing.
- Raise Exposure for the whole photo only if the whole frame is too dark. If a white dress or shirt starts to lose detail, lower Highlights rather than holding the person back. Lift Shadows in small amounts and watch for noise. If the background is already bright enough, go to step 5. Don't move Orange Luminance to make the person look lighter or darker.
- If only the person is too dark, brighten the whole person. Open Masking with Shift+W and Lightroom Classic detects the people in the photo. Choose the person, pick Entire Person and click Create Mask (Adobe Community). Fix any missed areas or spill, then raise Exposure inside the mask. Never raise Exposure on a Face Skin or Body Skin mask: it lifts only the skin, which is the lightening this guide warns against.
- Fix colour drift with Point Color. Brightening can push darker skin toward orange (why presets turn dark skin orange or grey). One user in Adobe's forum said darker skin tones "turn orangey" after raising Exposure or Shadows, and another saw orange skin on import in Lightroom mobile. An Adobe employee replied with a preset to reduce "orange reflectivity" (Adobe Community). Check white balance and the camera profile first. Then work inside a mask: the Entire Person mask, or a Face Skin and Body Skin mask made for colour only. Sample the skin with the eyedropper and tick Visualize Range, which turns everything outside the sampled range grey (Rob Sylvan, Lightroom Killer Tips). If the colour is too strong, lower Sat. Shift until the orange cast goes, and stop before the skin turns grey or ashy. If the colour itself is off, adjust Hue Shift instead. Leave Lum. Shift at zero, and untick Visualize Range to judge the skin in full colour.
- Run the three checks below. Sync these settings to other photos, or export, only after the edit passes all three, and look at every synced photo before you export it.
Three checks that the person still looks like themselves
No single check settles it. Together they catch changes you did not mean to make.
Check 1: the untouched file. Press the backslash key to flip between before and after, or Y for side by side (Julieanne Kost). Use it to see what changed, not to judge brightness or colour, since you corrected white balance on purpose. Judge relationships: the skin against their clothes, their hair, the whites of their eyes and the person beside them. Those should hold, and no new gap should open between face, neck and hands.
Check 2: the reference. With Reference View open, compare areas in similar light. Look at how the skin sits against something neutral in each photo, such as the whites of the eyes or a white shirt. That gap should look about the same in both, even if the edit is brighter overall. Allow for real differences in light between the photos. If the undertone has drifted warmer, go back to step 6.
Check 3: the readings. Hover over the same two spots again. The numbers cannot tell you the person looks right, but they flag moves worth a second look.
- Both readings rose: the light went up on the skin and its surroundings together.
- The skin rose far more than the neutral: look again. Orange Luminance does this, and so does a big Shadows lift, which raises dark skin more than a mid-grey.
- With a person mask, the background did not get the edit, so read the neutral from the person's clothing.
Skip target numbers for skin. A 2011 rule of thumb in Adobe's user forum gives its numbers for "average skinned caucasian" skin (Adobe Community). The numbers that matter are the person's own, before and after.
Where presets, sliders and these checks reach their limits
- A preset cannot judge the photo. It applies saved slider values to every frame, and Lopez described a preset as trying to "control everything about the image" (NBC News). AI masks saved in a preset are recalculated for each image (Adobe Community), but the amounts inside them stay the same. Look at every photo after you sync a preset, and run the checks once for each lighting setup.
- One preset can change white balance, colour, brightness and contrast at once, so run the checks on every preset, ours included, using your own photos.
- Stray light, from a bright source such as a window behind the person, spills into the lens. Google's camera team found it tends to wash out darker skin tones more than lighter ones (Google). In those frames, lean on the reference more than the untouched file.
- In groups, start with the frame as a whole. Use a separate mask for a person only when they sit in different light or need a different correction. Keep the natural differences in skin depth between people.
Before you export, check each lighting setup against the untouched file and the reference photo.
Questions people ask
- Why does dark skin turn orange when I brighten it in Lightroom?
- Brightening a darker, warm skin tone can push it toward a stronger orange. One Lightroom user reported this after raising Exposure or Shadows, and another saw it on import. Check white balance and the camera profile first. Then sample the skin with Point Color and lower Sat. Shift, or adjust Hue Shift if the colour itself is off.
- Should I raise Orange Luminance to brighten dark skin?
- Don't use it to brighten skin. Orange Luminance changes the lightness of a fixed band of orange colours, which includes skin, while neutrals like a grey wall or white shirt stay the same. The skin gets lighter against everything neutral, which reads as the person looking lighter. Brighten with Exposure on the photo or an Entire Person mask.
- How can I tell if my edit made someone look lighter?
- Compare the edit three ways. Flip to the untouched file and check the skin keeps its relationship to clothes, hair and other people. Put a reference photo, taken in similar light, beside the edit. Then read RGB values on the cheek and on a neutral that got the same edit. If the skin rose far more, look again.
- Can a preset brighten dark skin without lightening it?
- A preset can be a good starting point, but it applies saved slider values and cannot judge the skin or the light in your photo. One preset can change white balance, colour, brightness and contrast at once. Apply it, then compare the result with the untouched file, a reference photo of the person and the RGB readings.