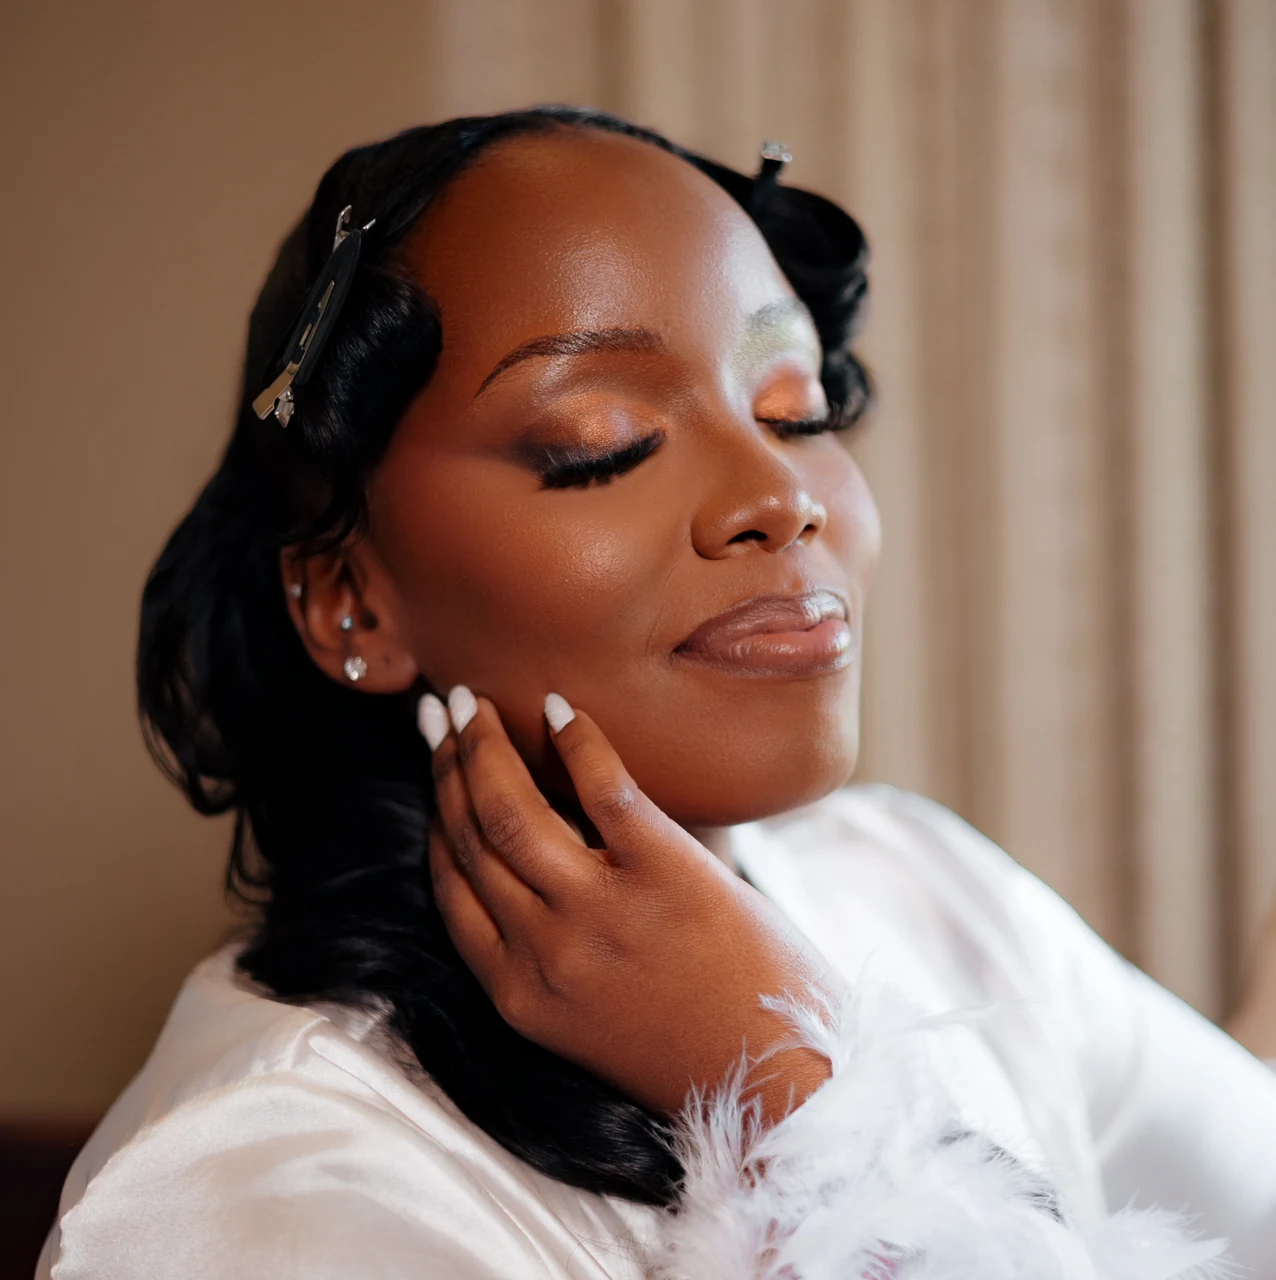
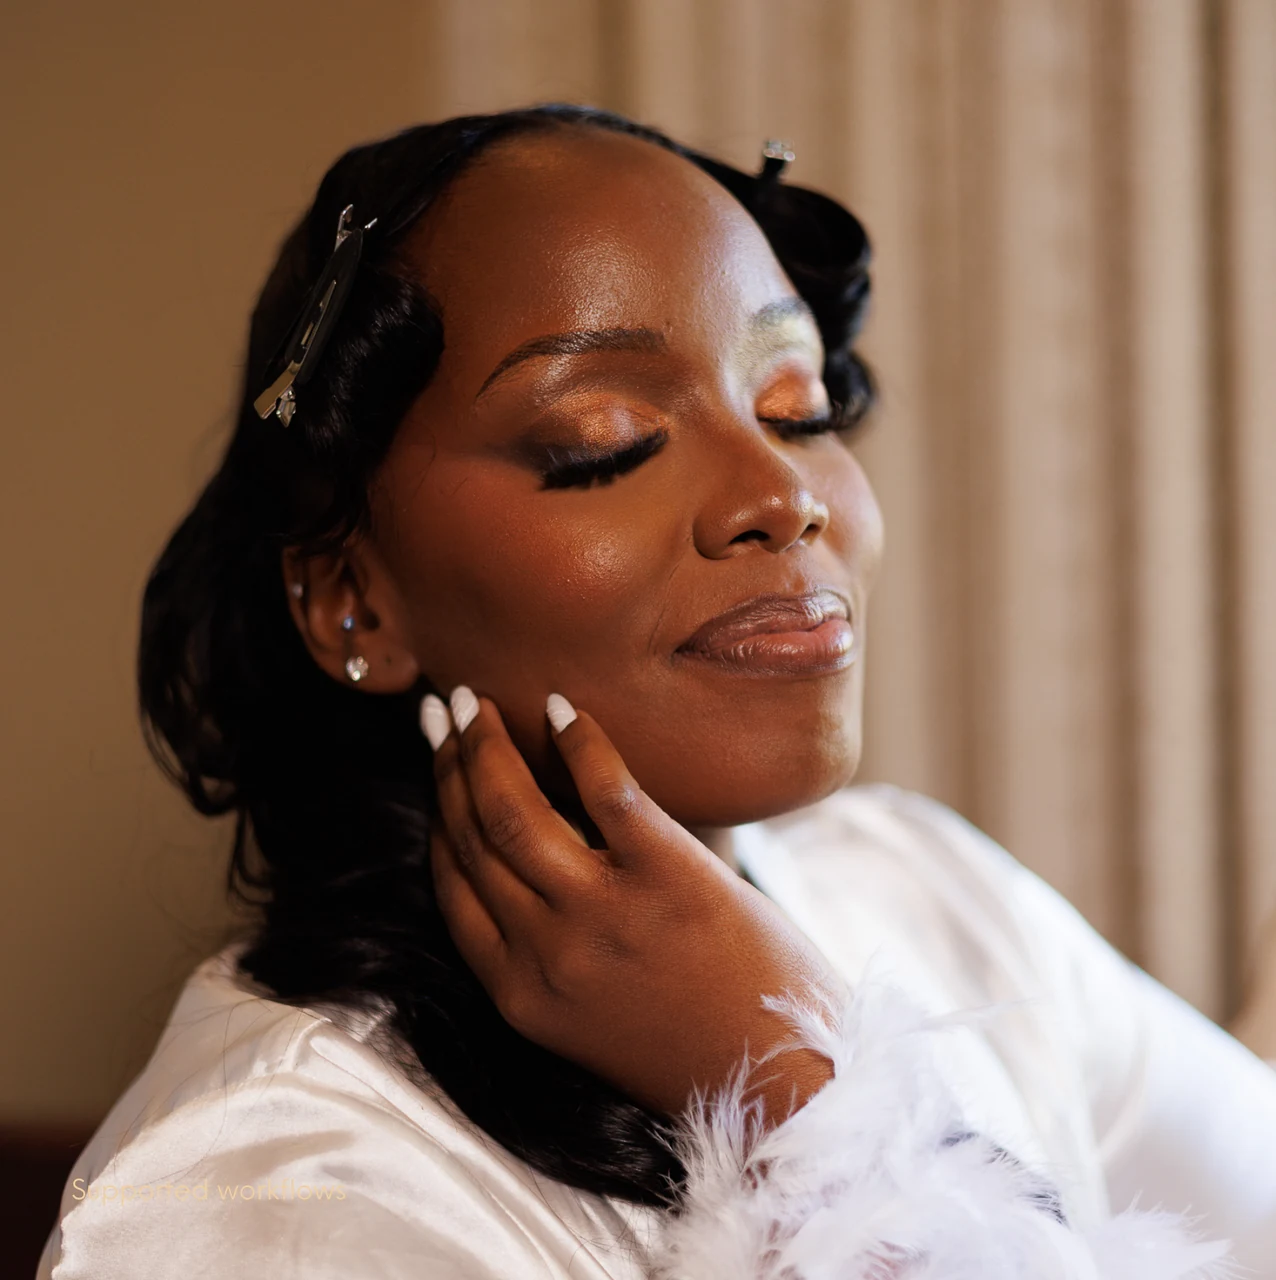
Should dark skin be edited warmer or cooler? White balance for dark skin in Lightroom
· 7 min read
This guide gives the six steps to set white balance in Lightroom Classic and Lightroom mobile, including what to do with no grey card in the frame. It also shows why eye whites make a poor target, and where the method stops working with JPEGs and mixed light.
Short answer
Should dark skin be edited warmer or cooler?
Neither, as a rule. Set white balance by clicking a neutral target, such as a grey card shot in the same light, with Lightroom's White Balance Selector. Then check the eye whites, lips and shine on the skin against how the person really looks in that light. Add warmth or coolness after that, on purpose, to the whole photo.
Why the advice on white balance for dark skin contradicts itself
Search "white balance for dark skin" and the first page gives opposite answers. One ranking photography guide tells you darker skin goes with a cooler white balance. A summary of fashion and beauty photographer Lindsay Adler's advice warns that auto white balance can cool deeper complexions into "an unnatural, grayish look" (V-Flat World).
One recommendation favours cooler rendering; the other warns about unwanted cooling from auto white balance. Read together, they support checking the starting image rather than giving dark skin a fixed editing direction.
The defaults behind that advice have a history. Photographer and writer Syreeta McFadden describes film labs balancing colour against Shirley cards, portraits of a pale-skinned woman. Against that reference, "all other skin tones become deviations from the norm" (BuzzFeed News). Lorna Roth, Distinguished Professor Emerita at Concordia University (Concordia), spent years interviewing Kodak executives (NBC News). Her 2009 paper traces poor rendering of darker skin, until recently, to "a light-skin bias embedded in colour film stock emulsions and digital camera design" (Roth, 2009, via SSRC Just Tech).
Google says that bias can carry into untested imaging tools. It improved the Pixel 6's auto white balance for people of colour with help from outside image makers (Google).
McFadden's photo album shows one person rendered in opposite directions. "In some pictures, I am a mud brown, in others I'm a blue black," she writes, and some were taken "within moments of one another" (BuzzFeed News). They were film prints, and she does not say what caused each error. A neutral reference gives white balance a measured starting point, though it cannot guarantee accurate skin colour on its own.
Why the eye whites make a weak white balance target
Some forum answers and tutorials suggest clicking the whites of the eyes with the White Balance Selector. Adobe tells you to click "an area of the photo that should be a neutral light gray." It also says to avoid shiny spots: "spectral highlights or areas that are 100% white" (Adobe).
Eye whites vary in colour from person to person. A study led by Gettysburg College psychologist Richard Russell measured eye-white colour in photos of 286 white French women aged 20 to 70. Older eyes were "more dark, red, and yellow" than younger ones (Russell et al., Psychology and Aging, 2014). The authors note they studied only white women, so the pattern is not established in darker-skinned people. It still shows that eye whites are not a fixed neutral.
When you click a spot, Lightroom moves the Temp (blue to yellow) and Tint (green to magenta) sliders "to make the selected color neutral, if possible" (Adobe). Click a yellowish eye white, and Lightroom treats that yellow as neutral and shifts the whole photo toward blue.
There is a second reason to leave the eyes alone. One editing guide treats yellow eye whites and purple lips as the clearest sign that dark skin tones are off. Sampling an eye makes that spot a less independent check, because Lightroom tries to neutralize its colour. Use a separate neutral target, then compare the eyes and lips with the person's real appearance.
Presets can carry their own white balance settings (Julieanne Kost), so a preset applied after your click can replace it. Apply any preset first and set white balance last, or check the preset's Temp and Tint. That goes for ShopOmilia presets too.
How to set white balance for dark skin in Lightroom
These steps cover Lightroom Classic and Lightroom mobile.
- Shoot a neutral target in the same light. A grey card is a flat, neutral grey card made for this job. Hold it where the face will be, "evenly lit by the same light," and re-shoot it whenever the light changes (Calibrite). For JPEG capture, use the card to set the camera's custom white balance before you photograph the person (Calibrite).
- Apply any preset before you click. If you add one later, click the card again. Auto "calculates the white balance based on the image data" (Adobe), so treat it as a first draft at most.
- Click the card with the White Balance Selector, the eyedropper. In Lightroom Classic's Develop module, press the W key (Adobe). Zoom in on the card before you click, because the Selector's "sample area is dependent on zoom level" (Julieanne Kost).
- In Lightroom mobile, open Edit, then Color. Tap the White balance selector, "drag the circle to a neutral area in your photo," then tap Done (Adobe).
- Fine-tune with Temp and Tint only if the checks below call for it. Tint adjusts green and magenta; Temp adjusts blue and yellow (Adobe). Check both against a reliable neutral before changing the whole photo.
- Copy only white balance to matching photos. In Lightroom Classic's Copy Settings dialog, choose None from the Subset menu (Adobe), then select only the white balance settings. Paste to frames from the same camera "shot in the same lighting conditions" (Calibrite). Check JPEGs one by one if the camera's white balance varied.
If there is no card in the frame
The card only has to appear in one frame per light. Click it there and copy the result, as in step 6.
Otherwise, click a surface in the face's light that "should be a neutral light gray," avoiding shine and pure white (Adobe). Treat the result as a draft. Calibrite, which sells cards, says "most objects are not actually neutral under all lighting conditions" (Calibrite).
If nothing is close to neutral, stay on As Shot and set Temp and Tint by eye against the checks below. Keep a reference photo of the person open. Calibrite's guide says that when comparing white balance settings by eye, it is "difficult to know which to use to give the correct skin tone" (Calibrite).
What to check after you set white balance
Look at the person before you touch another slider.
| Check | How to read it |
|---|---|
| Eye whites | Compare with the person's real appearance. Yellow colouring alone does not prove an editing error. |
| Lips | Compare with the person's lip colour and make-up. Purple alone does not point to Temp or Tint. |
| Shine on the skin | Coloured shine can point to mixed light. Treat it as a clue, not a second grey card. |
| Known neutrals | Check objects you know are neutral, in the face's light. Clothing and walls are not automatically reliable. |
| Other frames | Compare the same person under unchanged light, allowing for pose and reflections. |
Skin shine is a useful clue because "highlight reflections have the color of the lighting" (Li et al., CVPR 2017).
Then decide on warmth deliberately. The summary of Adler's advice allows "a bit of warmth" for richness, from "a neutral base so any changes are intentional" (V-Flat World). Add it to the whole frame, then check the skin again.
If the neutral reference looks right and the skin still looks orange, grey or too light, leave white balance where the card put it. The global Temp slider changes how warm or cool the whole photo looks (Adobe), not just the skin. Look at exposure, colour settings and any preset instead. See how to brighten dark skin without making it lighter and why presets turn dark skin orange or grey.
Mixed and coloured light
One white balance setting assumes one colour of light. Real rooms mix them, such as "an office with both fluorescent ceiling lights and sunlight from windows" (Li et al., CVPR 2017).
Set global white balance for the main light on the face. To correct another area, mask it and adjust Temp and Tint there; a mask's Temp "adjusts the color temperature of an area of the image" (Adobe). Lightroom Classic's Select People can "automatically select one or more people in your photo," and Invert Mask selects "everything else except the initial selection you made" (Adobe). If different lights fall across the face, mask those areas separately. Masks can improve mixed light, but they do not guarantee a convincing neutral under strongly coloured light.
On a raw file, you can type a value into the global Temp control, which uses the Kelvin colour temperature scale. Adobe notes "photographic tungsten lights are often balanced at 3200 Kelvin" (Adobe), so treat that as a starting point under those lights.
Strong coloured light, such as purple uplighting, needs a decision first, because neutralizing it also removes the room's colour. To keep some, leave it in the global white balance and pull only the skin back inside a Select People mask.
Where this method stops working
- JPEGs, including phone JPEGs. JPEGs "include the temperature setting in the file," so the range is "more limited" (Adobe). In Lightroom Classic, the WB menu's preset options, such as daylight or tungsten, "are available only for raw and DNG photos." The sliders still work on every photo (Adobe). Lightroom Classic shows JPEG Temp and Tint on a relative -100 to +100 scale; raw Temp uses Kelvin, and raw Tint does not (Julieanne Kost).
- Phone photos are not always JPEGs. Lightroom mobile's camera can shoot DNG, which Adobe describes as the format "for advanced editing flexibility" (Adobe).
Shoot the card, apply any preset, click the card last, and compare the eyes, lips and highlights with the real person before you add any warmth back.
- Golden Hour Calculator: enter a location and date to see golden hour, blue hour, sunrise and sunset times.
Questions people ask
- Should I use Auto white balance for dark skin in Lightroom?
- Use it as a first draft only. Lightroom's Auto calculates white balance from the pixels in the photo. A summary of fashion and beauty photographer Lindsay Adler's advice warns that camera auto white balance can cool deeper complexions toward grey. A grey card shot in the same light gives Lightroom a measured neutral.
- Can I click the whites of the eyes to set white balance?
- It is a weak target, because eye whites vary in colour between people. One study of white French women found eye-white colour varied with age. Clicking a yellowish eye white tells Lightroom that yellow is neutral, which pushes the whole photo toward blue. Set white balance from a grey card, then compare the eyes with the real person.
- Why does dark skin look grey or purple after I fix white balance?
- Check what you clicked first. Everyday surfaces may not be neutral, so a poor sample can shift the whole photo. Tint adjusts green and magenta, and Temp adjusts blue and yellow. If your reference looks right but the skin does not, check for mixed light, then look at exposure, the camera profile, colour adjustments and any preset.
- Can I fix white balance on phone photos in Lightroom mobile?
- Yes, within limits. In Lightroom mobile, open Edit, then Color, tap the white balance selector, drag the circle to a neutral area and tap Done. A JPEG already has white balance written into it, so large corrections have less room. Check the file format first, because Lightroom mobile's camera can also capture DNG, which gives more editing flexibility.