Blog
Editing dark skin in Lightroom
How to keep Black, brown and dark skin true to the person when you edit, from the team that built the ShopOmilia presets.
- 8 min readHow do I edit dark skin in harsh sun or next to a white dress?why saving the dress and saving the face pull against each other, and what a raw file returns at each end of that frame. You will also learn which Lightroom tool lets one exposure serve two subjects, and what it does not fix.
- 8 min readWhy do presets look different on every photo?This guide explains what a Lightroom preset actually stores, and why the same preset produces a different result on two photos of the same person. It then gives four documented causes to check, and where skin tone sits in the mechanism.
- 8 min readHow do I brighten dark skin in Lightroom without making the person look lighter?Brighten dark skin with Exposure on the photo or an Entire Person mask, and don't raise Orange Luminance, which lightens the skin against neutrals. This guide gives you a seven-step Lightroom Classic workflow and three checks that help you see whether the person still looks like themselves.
- 7 min readWhy Presets Turn Dark Skin Orange or Grey in Lightroom, and How to Fix ItPresets that brighten dark brown skin can push it toward orange, and presets that cool white balance or lower saturation pull it toward grey. You'll get a fix order for daylight, tungsten and LED light, and the limits of what editing can recover.
- 7 min readShould dark skin be edited warmer or cooler? White balance for dark skin in LightroomThis guide gives the six steps to set white balance in Lightroom Classic and Lightroom mobile, including what to do with no grey card in the frame. It also shows why eye whites make a poor target, and where the method stops working with JPEGs and mixed light.
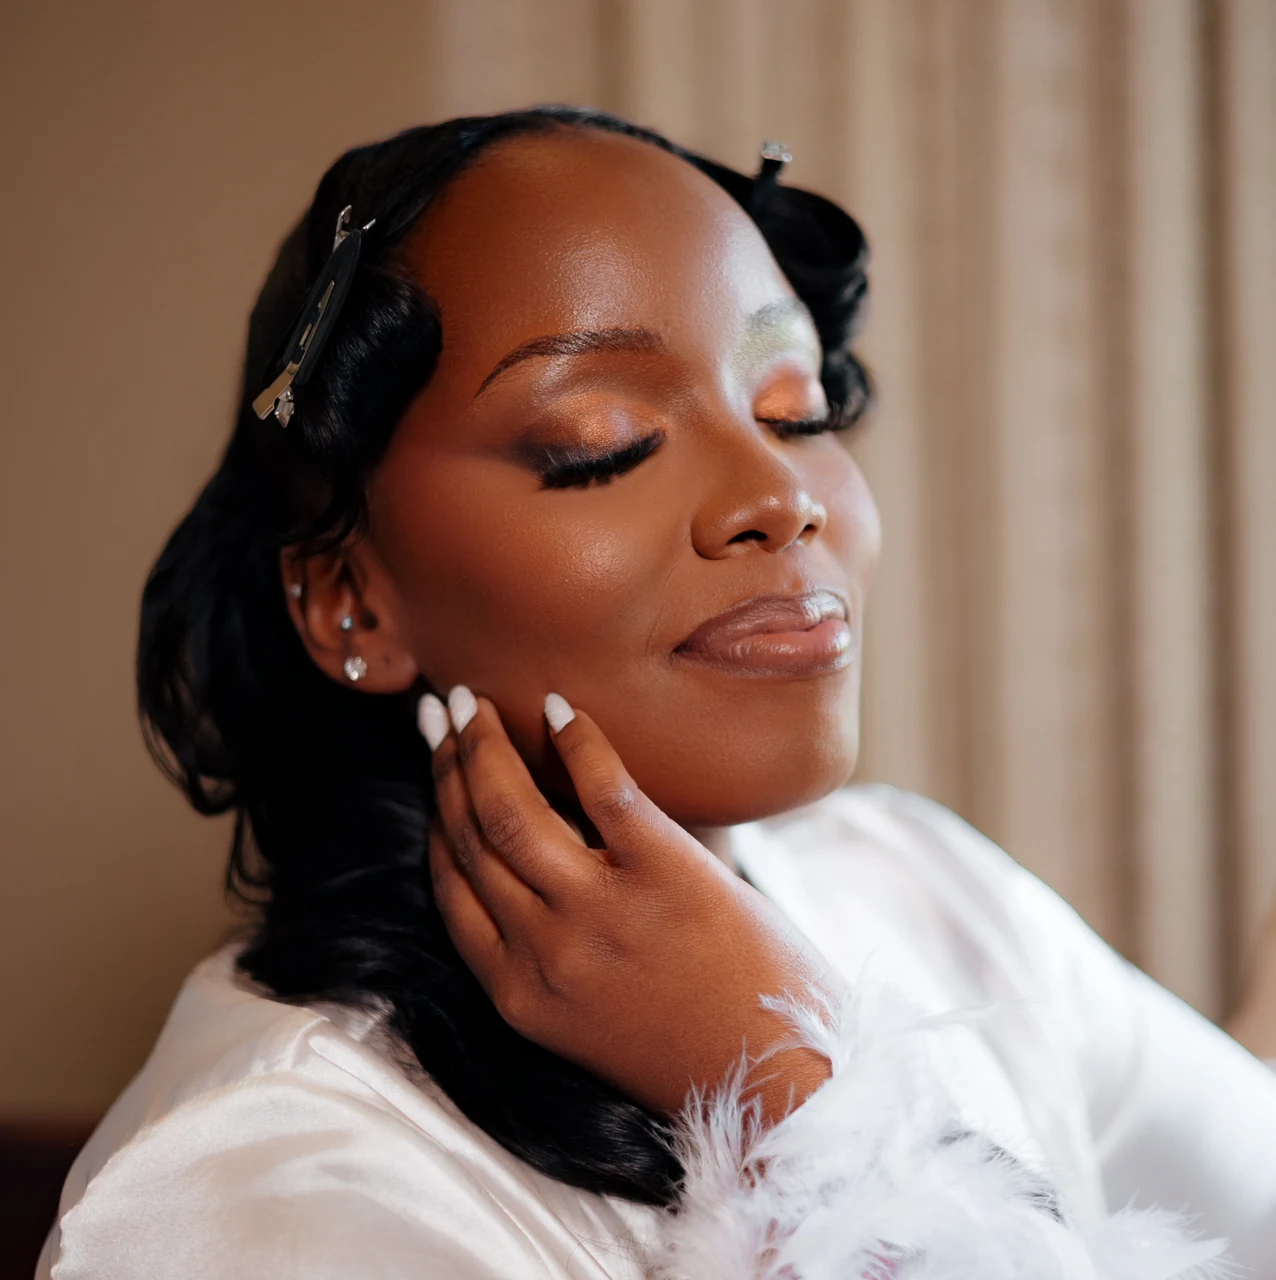 BeforeAfter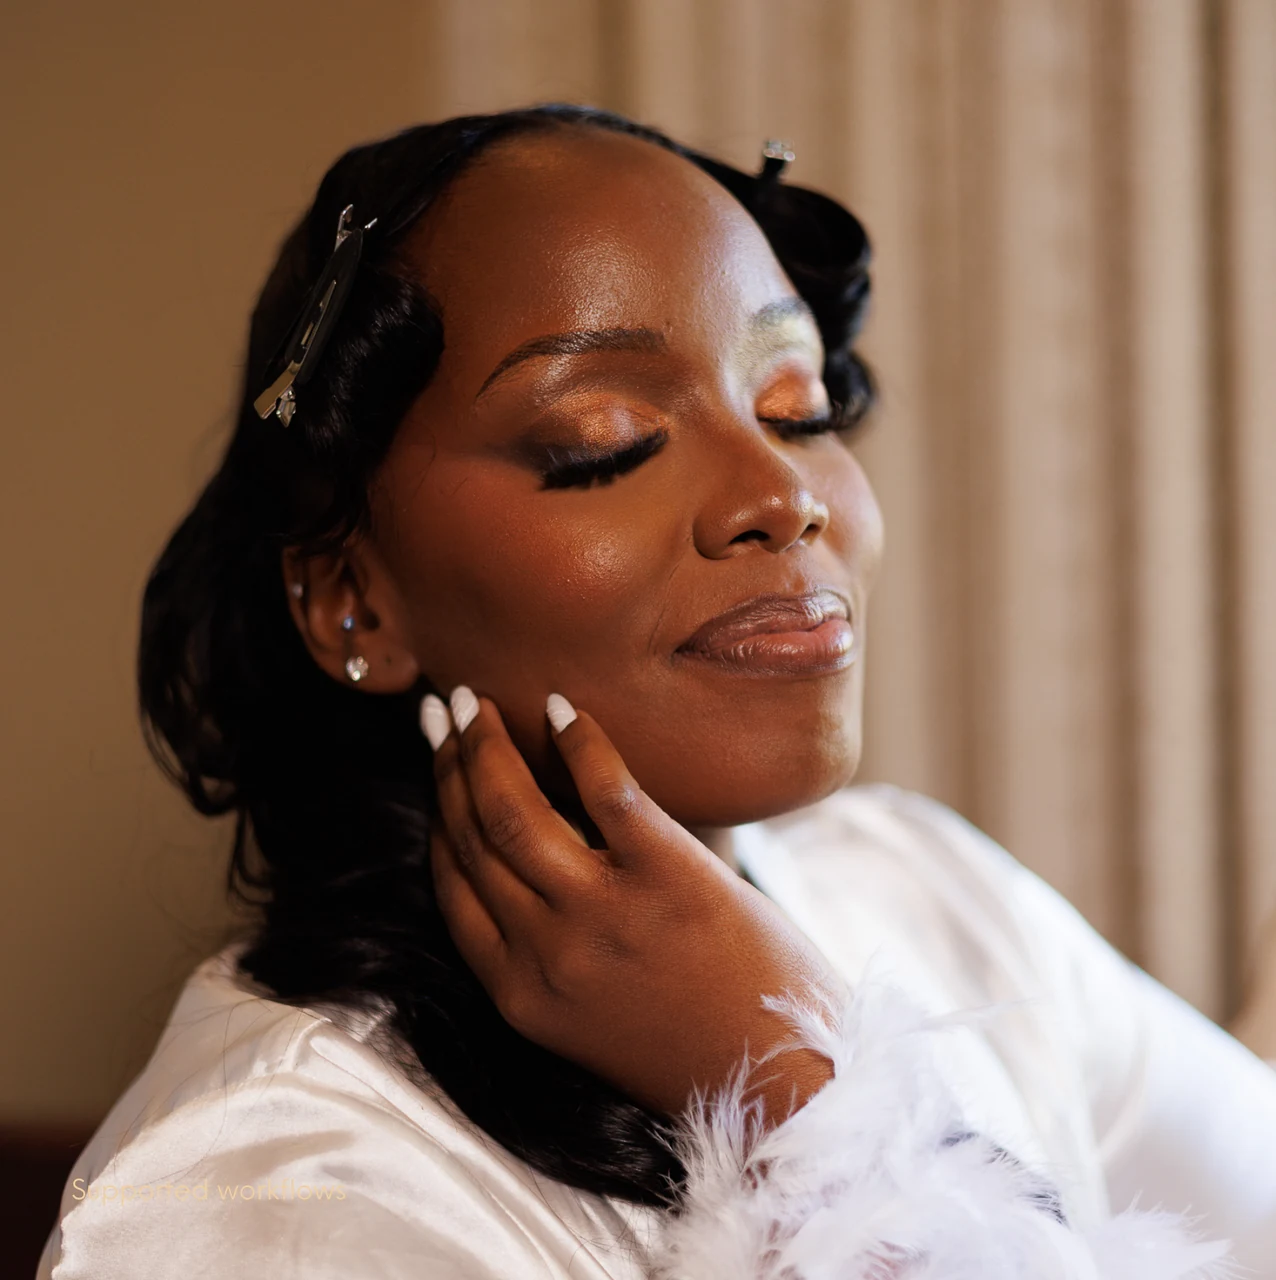
Drag to compare. True Feel Collection on our own client work.
Lightroom presets
Presets built on real client work
Drag the line to see an original next to the edit, then compare all five collections.