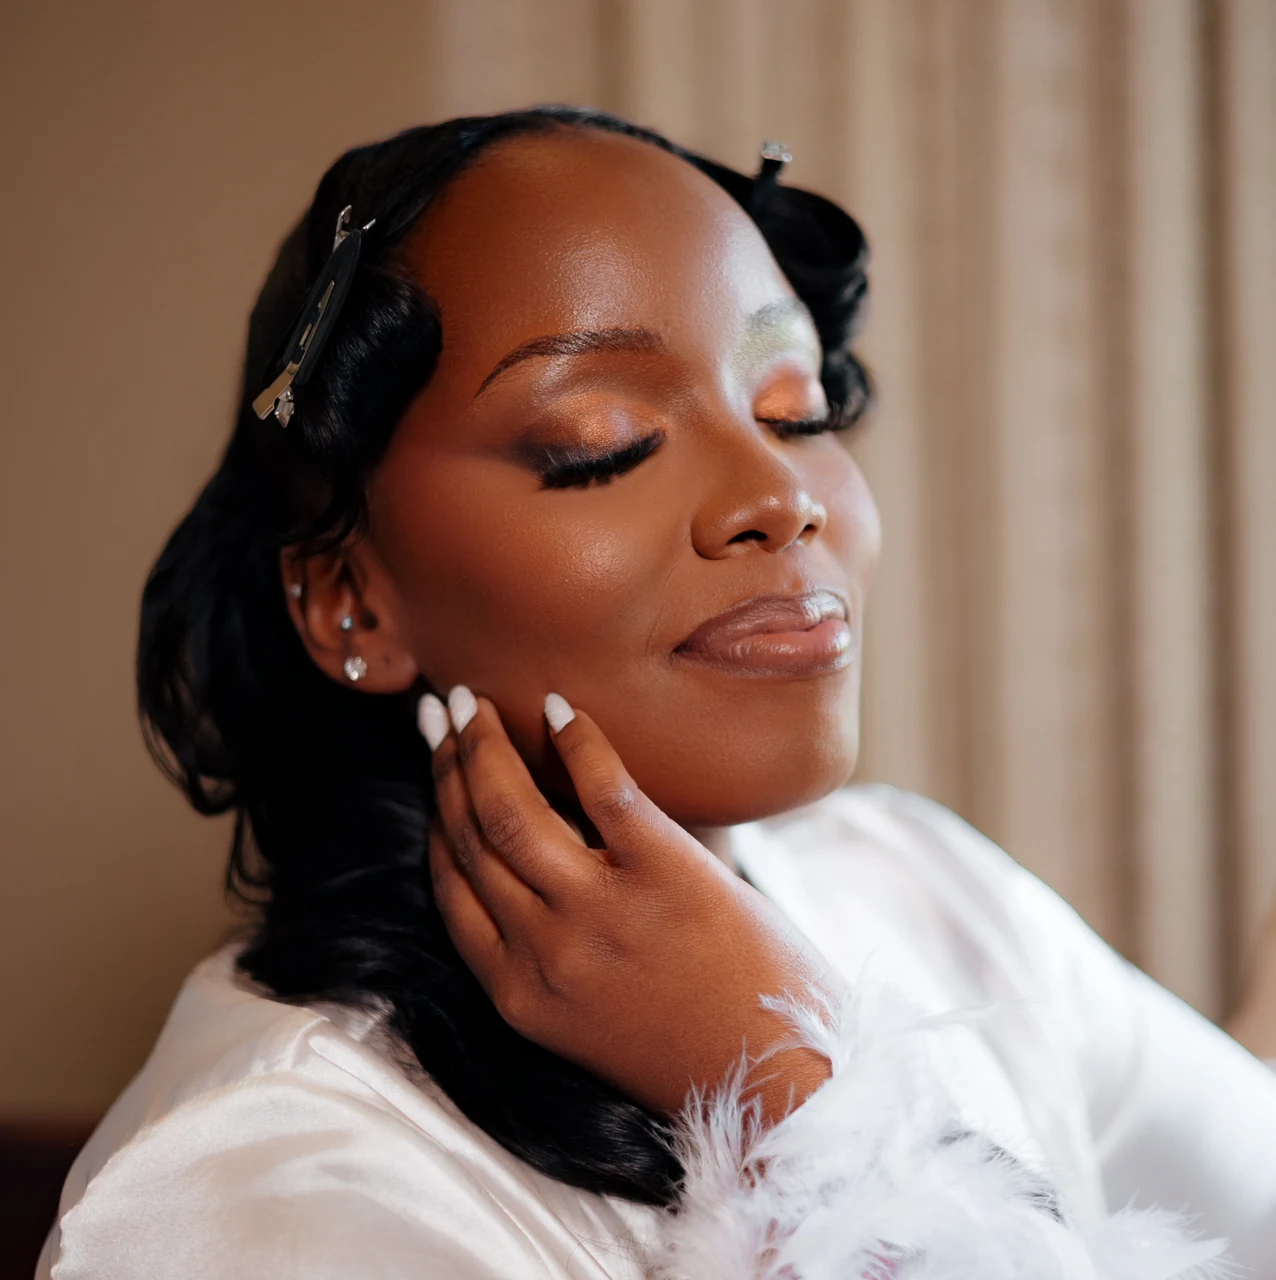
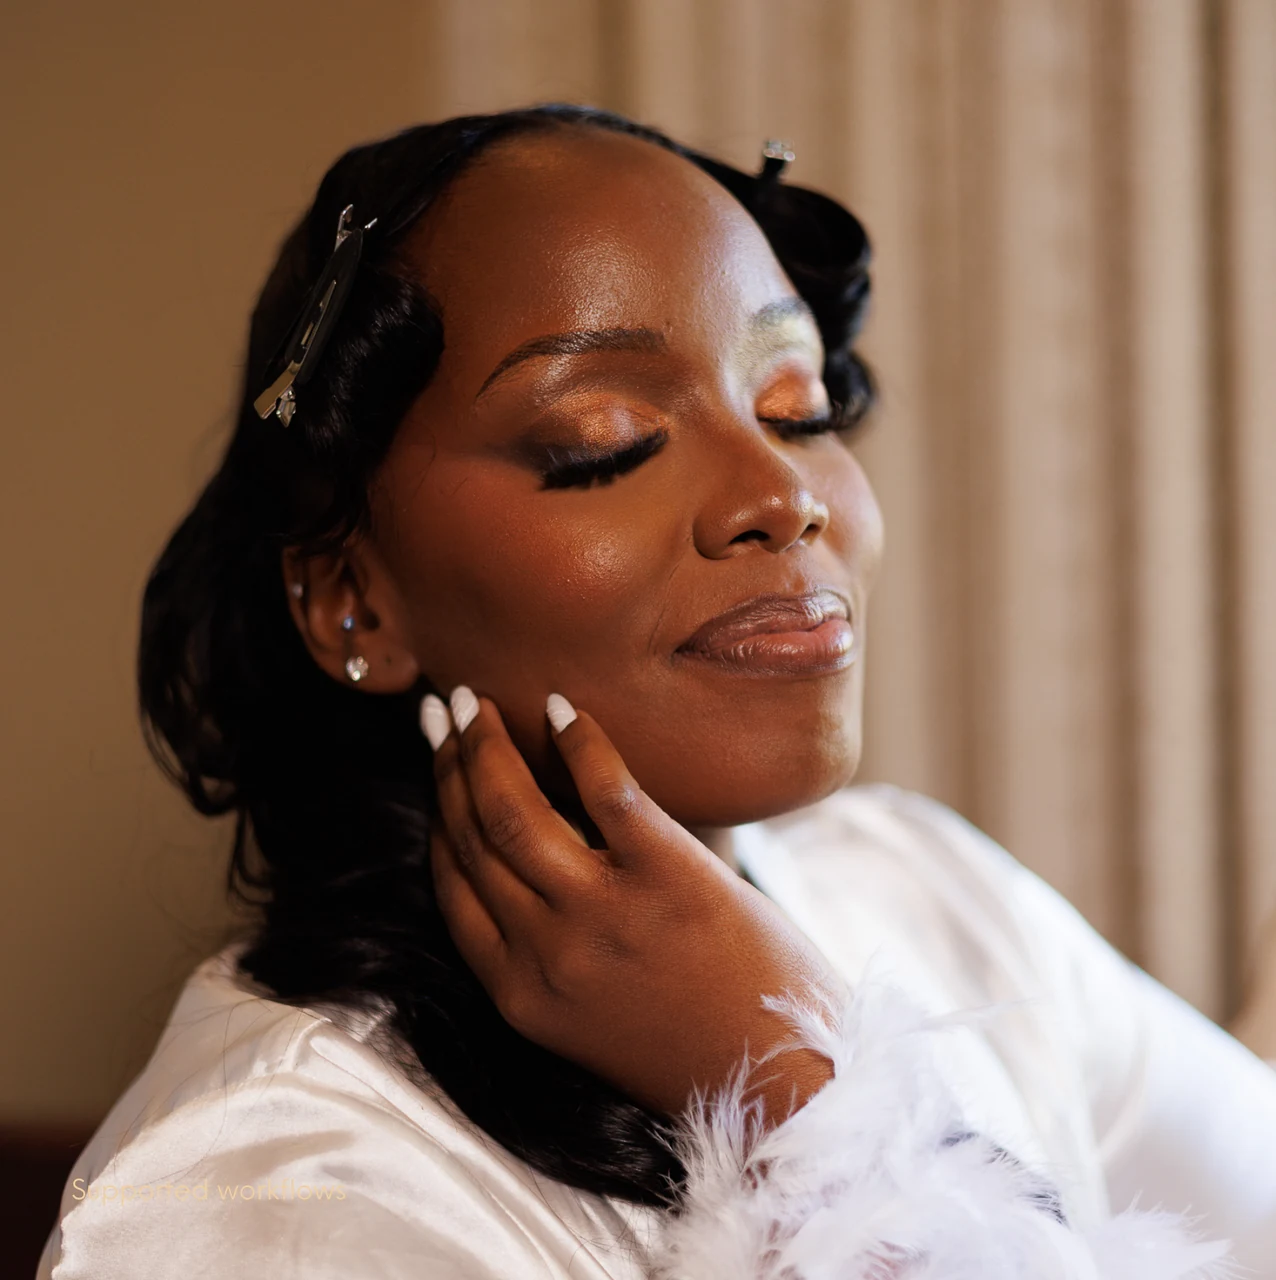
Why Presets Turn Dark Skin Orange or Grey in Lightroom, and How to Fix It
· 7 min read
Presets that brighten dark brown skin can push it toward orange, and presets that cool white balance or lower saturation pull it toward grey. You'll get a fix order for daylight, tungsten and LED light, and the limits of what editing can recover.
Short answer
Why do presets turn dark skin orange or grey, and how do I fix it in Lightroom?
A preset applies the settings its maker saved, with no knowledge of your light or your subject's skin. Brightening can lift dark brown skin toward orange, while a cool white balance or low saturation pulls brown toward grey. Set the preset's Amount first, retake white balance from a neutral, brighten only as far as the face needs, then correct skin colour inside a skin mask.
Pushing the orange sliders fixes one photo and fails on the next. The cause sits in the white balance, brightness or colour settings the preset brought from its maker's photo. The repair is to retake those decisions one at a time, starting with the light.
The two ways presets fail dark skin
The first failure is orange: skin looks brassy and over-saturated. A user on Adobe's community forum reported in 2023 that darker skin tones turned orange when the photo was lightened with Exposure or Shadows (Adobe Community, user forum). Rikk Flohr, then an Adobe employee, replied by sharing a preset named for reducing orange reflectivity on dark skin tones (Adobe Community, Adobe employee reply).
The second failure is grey: skin looks ashy, muddy or washed out, and sometimes lighter than the person is. In a 2022 NBC News story, a bride of colour described photographers desaturating wedding images into the "light and airy" style until skin tones were distorted (NBC News).
For the film and camera history behind these failures, see how to brighten dark skin without making it lighter.
Why presets do this
A preset stores the settings its maker chose to include, taken from the maker's own photo (Adobe). Those settings land on your photo at the maker's values, whatever light your photo was taken in.
Julieanne Kost, Adobe's Principal Digital Imaging Evangelist for Photoshop and Lightroom, notes that white balance settings can be included in a preset (Julieanne Kost). Temp, the white balance slider, sets how yellow and warm or blue and cool the photo looks (Adobe). A preset saved with an overcast afternoon's Temp brings that setting to your warm reception photo.
Colour settings travel the same way. A preset that changes orange saturation or luminance in the Color Mixer changes every similar orange in your frame, skin included (Adobe).
How brightening turns brown skin orange
Brown is a dark, warm colour, and it depends on what surrounds it. In a lab study, a bright white surround made a yellow colour patch look browner and darker (Buck and colleagues, Journal of the Optical Society of America A, 2016). The study did not test skin, but it gives the likely reason for the forum report. Lifting dark brown skin against the rest of the frame removes some of the darkness brown depends on, the warm hue stays, and the skin reads as orange. Shadows and orange luminance lift skin against its surroundings most directly, and the forum user saw the same shift after Exposure. A warm Temp setting adds to it.
How cooling and desaturation turn brown skin grey
A preset with a cool Temp pulls warm brown toward neutral. The White Balance Selector shows the same logic: click a colour, and Lightroom moves Temp and Tint to make that colour neutral, if possible (Adobe). Neutral skin is grey skin. Saturation at its lowest setting makes a photo monochrome (Adobe). A "light and airy" preset that pulls saturation down, or lowers orange saturation, moves skin toward grey too.
Why skin depth needs its own check
Adobe's premium portrait presets come in Deep Skin, Medium Skin and Light Skin versions (Adobe), so Adobe does not use one set of values for every skin depth. Wedding photographer Cassie Lopez told NBC News that presets which lift shadows a lot are built around lighter skin tones (NBC News).
Symptom, cause and first fix
| What you see | Likely cause | First fix |
|---|---|---|
| Skin turns orange right after brightening | The lift raised the skin against the frame; a warm Temp adds to it | Brighten less, then lower saturation inside a skin mask |
| Whole photo warm, skin brassy | Warm Temp in the preset, or tungsten under a warm preset | Retake white balance from a neutral |
| Skin grey, ashy or washed out | Cool Temp, low Saturation or lowered orange saturation | Retake white balance, then restore saturation inside a skin mask |
| Skin grey after clicking the White Balance Selector on it | Lightroom made the skin neutral | Click a known neutral grey in the same light |
| One person looks right, the other orange or grey | Different light on each person, or one shared adjustment | Mask each person who needs a different correction |
Every ShopOmilia product page shows before and after images on Omilia's own client photos. Run the steps below on our presets too.
The fix order: Amount, light, brightness, then skin colour
Apply the preset, then work through these steps in order. You start with the preset applied and finish with skin that holds its depth and colour against its surroundings. Each step ends with the check that tells you to move on.
- Set the preset's Amount first, before you move any other slider. Amount runs from 0 to 200 and sets how strongly the preset applies (Adobe). Presets saved without Amount support show the slider greyed out (Adobe); for those, go straight to step 2. Check: the skin stops shifting hard as you lower it.
- Retake white balance. Use the White Balance Selector (the eyedropper; W in Lightroom Classic) on a known neutral grey in the same light as the face, such as a grey card. Stay away from bright highlights and pure white (Adobe). Never sample the skin. Then check Tint, which moves the photo between green and magenta (Adobe). White balance for dark skin in Lightroom covers what to click without a card, and phone photos. Check: the neutral reads neutral.
- Brighten only as far as the face needs. Raise Exposure, which sets the overall brightness of the photo (Adobe), in small steps. If the skin turns orange as it brightens, pull the brightening back before you touch colour. Leave Orange Luminance alone; how to brighten dark skin without making it lighter explains why and walks through brightening. Check: facial detail shows without flattened shadows or clipped highlights.
- Correct skin colour inside a skin mask. Point Color selects by colour, so its change reaches that colour wherever it appears, wood floors and warm walls included (Adobe). Make the mask first: in Lightroom Classic, press Shift+W, select the person and choose Face Skin and Body Skin (Adobe Community). Point Color works inside a mask (Julieanne Kost). Sample the skin, use Range to set which colours the change reaches (Adobe), and leave Variance at its default. Lower saturation if the skin is too saturated, and shift hue if the hue is off. For grey skin, restore saturation, and raise the mask's Temp only if the skin still looks cool (Adobe). Check: Visualize Range highlights the skin and little else (Adobe).
- Add global colour last. Vibrance adjusts orange, red and yellow less than other colours, which protects skin (Julieanne Kost), while Saturation moves every colour equally (Adobe). Check: compare with the photo before the preset to see what changed, and judge skin colour against the clothes and hair in the frame.
Dark skin under tungsten and LED light
As a heated object gets hotter, its light moves from red to orange, yellow, white and finally blue (U.S. Department of Energy), so tungsten light, at the low end of that scale, leans orange. When the camera's white balance has not corrected for it, a tungsten room adds orange to brown skin before the preset does anything. A warm preset adds more. Adobe notes that photographic tungsten lights are often balanced at 3200 Kelvin, a starting point for Temp on a raw file (Adobe). For venue bulbs, start with the White Balance Selector on a neutral, then add back only the warmth you want.
Mixed light, such as tungsten overheads beside a daylit window, needs more than one white balance. Masks carry their own Temp and Tint sliders (Adobe), so a mask on the person can take a different white balance from the room. White balance for dark skin in Lightroom covers setting the face first.
Two LEDs sold at the same colour temperature can look different, one greenish and one pinkish (U.S. Department of Energy). That cast lands on skin as a green or magenta tint, so correct Tint after Temp. Rendering of saturated red matters for skin tones, and lights with the same colour rendering index (CRI) can still render colours very differently (U.S. Department of Energy). White balance removes a cast; it does not add back colour the light never delivered. Inside a skin mask, raise saturation a little and compare the skin with the clothes and hair around it.
What a preset cannot fix
Groups need separate corrections when people stand in different light. A global colour slider moves every similar colour in the frame (Adobe), so one global setting cannot give each person a different correction. Use a separate mask for each person who needs one (Adobe).
AI masks, such as the People mask that selects a person automatically (Adobe), decide where an adjustment goes. They do not measure your light, so white balance still comes first.
A preset with a fixed white balance cannot see your light. Before you sync one across a gallery, set its Amount, retake white balance for each lighting setup and check the skin in every frame.
Questions people ask
- Why does a preset turn dark skin orange?
- Brightening lifts dark brown skin against the rest of the frame. Colour studies show brown depends on being darker than its surroundings, so the warm hue can start to read as orange. A warm Temp setting adds to it. Set the preset's Amount first, brighten less, then lower saturation inside a skin mask.
- Should I click the White Balance Selector on the skin?
- No. Lightroom moves Temp and Tint to make whatever you click neutral, so clicking brown skin pushes it toward grey. Click a known neutral grey in the same light as the person, such as a grey card. Avoid bright highlights and pure white. Then check the skin against the clothes and hair in the same frame.
- How do I fix dark skin in photos taken under tungsten or LED light?
- Retake white balance first from a known neutral in the same light. Tungsten leans orange, so a warm preset on top makes skin brassy. LEDs sold at the same colour temperature can carry a green or pink cast, so correct Tint after Temp. If one light falls on the person and another on the room, mask the person.
- Should I raise Saturation in Lightroom to fix ashy or grey skin?
- Not globally, because Saturation moves every colour in the photo equally. Retake white balance first, since a cool Temp setting pulls brown skin toward grey. If the skin is still grey, restore saturation inside a skin mask. For the rest of the photo, Vibrance is gentler on skin because it changes orange, red and yellow less.