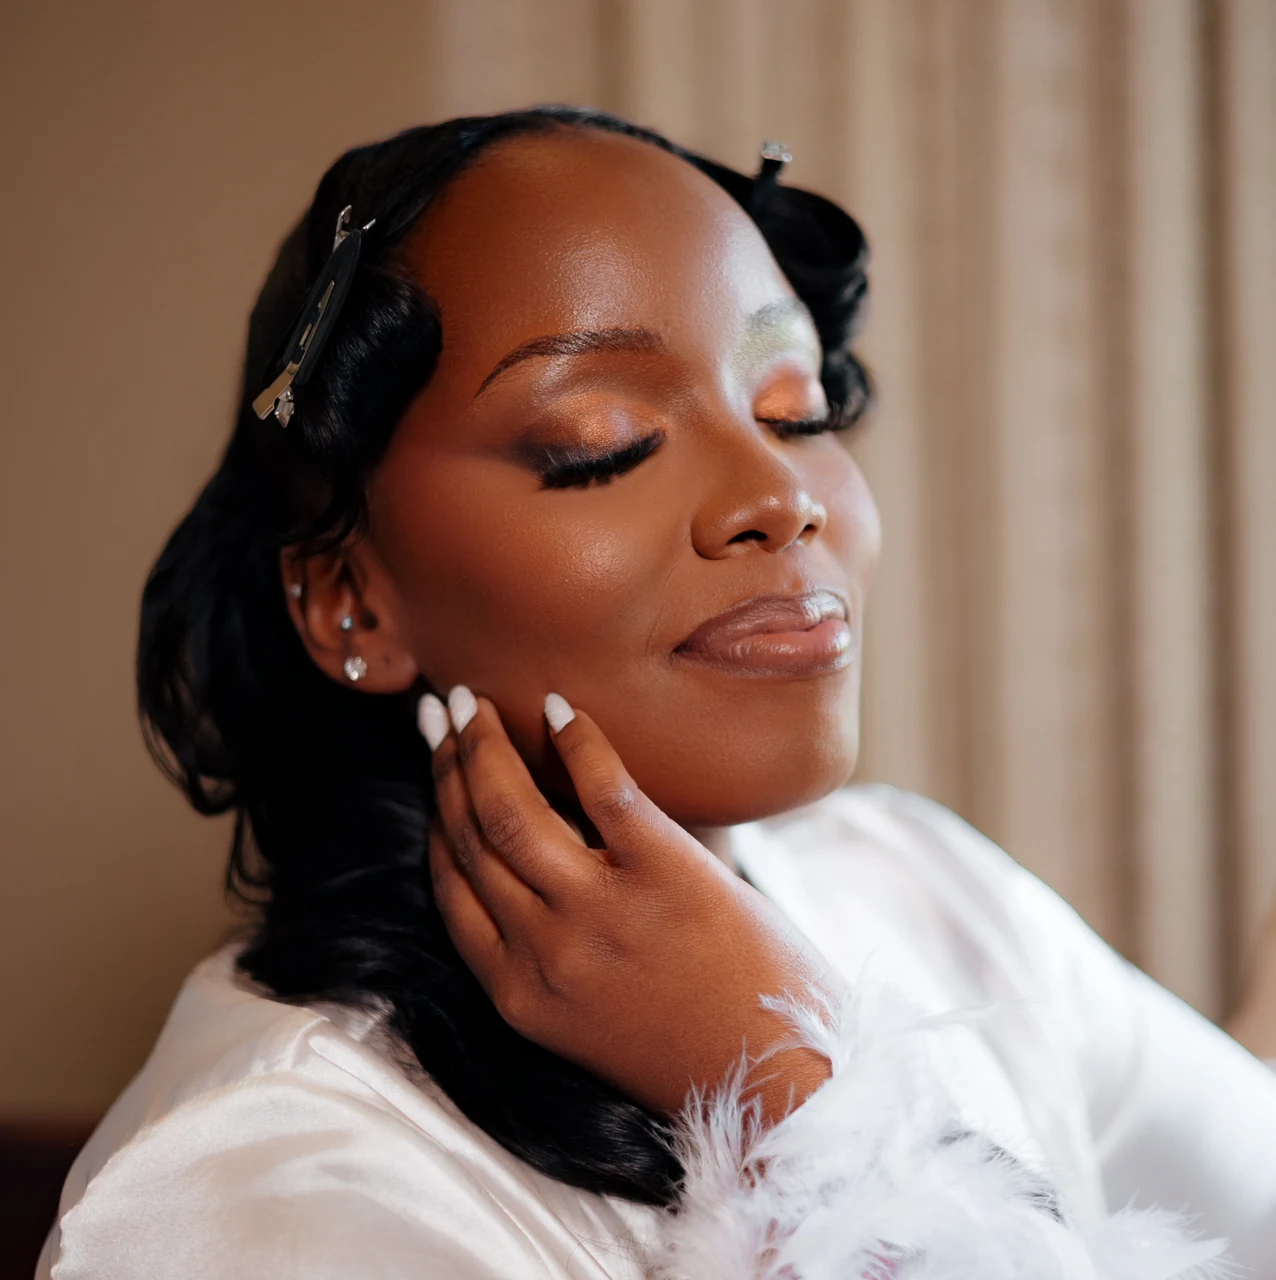
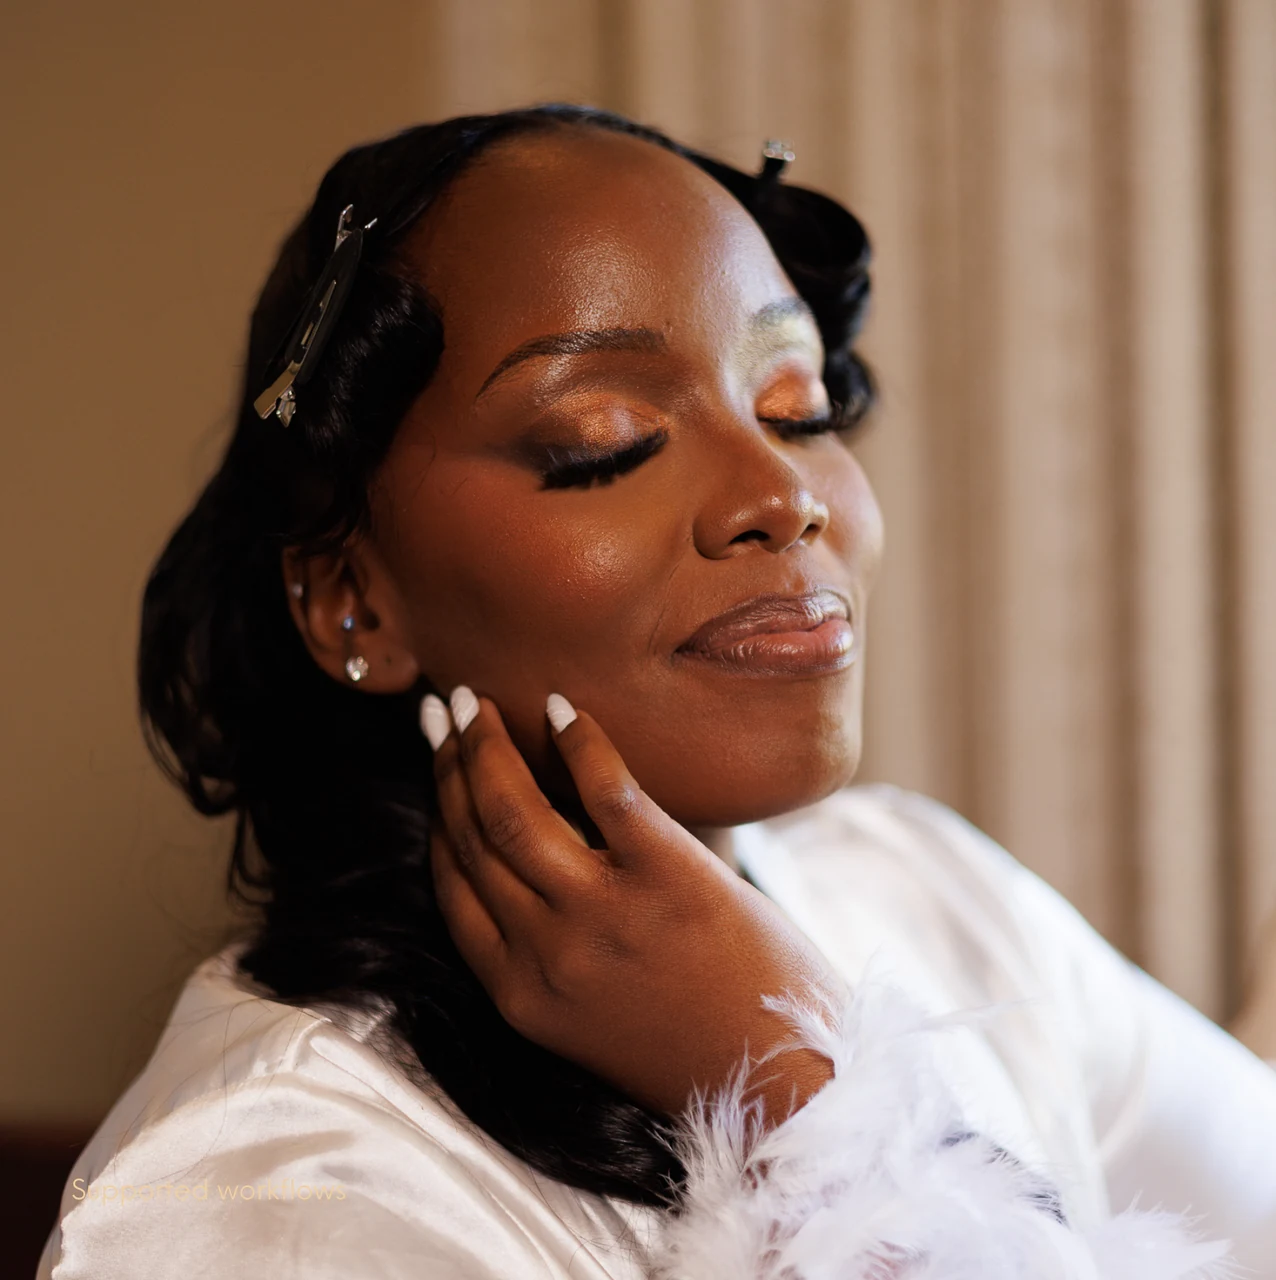
How do I edit dark skin in harsh sun or next to a white dress?
· 8 min read
why saving the dress and saving the face pull against each other, and what a raw file returns at each end of that frame. You will also learn which Lightroom tool lets one exposure serve two subjects, and what it does not fix.
Short answer
How do I edit dark skin in harsh sun or next to a white dress?
The constraint is that one exposure has to serve both subjects. Lightroom's tone sliders act on tonal ranges rather than on regions, so they cannot separate a face from a dress that shares its tones. Set one exposure that protects the dress, then use Lightroom's People and Clothes masks to edit face and fabric separately. Denoise before lifting shadows.
Protecting the dress can leave the face underexposed
Two photographers who publish on wedding exposure give the same instruction: meter the dress itself. Neil van Niekerk, a wedding photographer who has taught exposure on his own blog since 2010, states the limit of automatic metering directly: a camera reading the whole scene is "still guessing at what you're trying to do" (Tangents). His own practice is to meter off the dress specifically and then shift exposure up from where the meter reads zero, by "+1.7 stops" on one body. Andrés Sánchez gives the same instruction in different words, telling the reader to "meter the brightest area of the dress" and then overexpose it by 1.5 to 2 stops (PictureCorrect).
Both instructions are sound and this guide follows them. What neither states is what the move costs elsewhere in the frame. Exposure is a single decision for the whole picture, so setting it off the brightest textured area of a dress places the dress deliberately and leaves everything else to fall where it falls. The two subjects do not get separate exposures at capture.
How far apart the two subjects sit
There is a conventional answer for the dress. In the zone system each zone sits exactly one stop from its neighbour, with Zone V as middle grey and Zone VIII as the "Lightest tone with texture" (Digital Photography School). Place textured white fabric around Zone VII or VIII, which is two or three stops above a reading taken off the fabric itself. That placement is a teaching convention, and no source we could open measures satin, chiffon or any other specific fabric.
The sources we opened give no photographic measurement for the face. The closest available figure is anthropological: compiled data across 85 populations puts skin reflectance at 685 nanometres, measured on the upper inner arm, between 19.3 percent and 67.4 percent (Jablonski and Chaplin). Those figures come from one wavelength of red light on arm skin, pooled across decades of studies, so they do not tell you how bright a face reads in a photograph. At that wavelength the table's darkest population mean sits slightly above an 18 percent grey card, which is reason enough not to use the range as a stand-in for where a face lands.
No study we could open publishes the measured stops between a real bride's dress and a real deep skin face in the same frame. You can measure your own in about thirty seconds. Switch to spot metering, read the brightest textured part of the dress, read the lit side of the face, and the difference is the separation in your frame. Treat any general figure quoted for this pairing as an estimate.
What a raw file returns at each end
At the bright end the limit is documented, and it is narrower than the phrase highlight recovery suggests. Adobe's own whitepaper on highlight recovery, written by Jeff Schewe, an advertising photographer and long-running alpha tester for Adobe Photoshop, explains that colour channels clip independently, and that most processors give up as soon as one clips: "raw processors stop trying to use any of the data on the unclipped channels" (Adobe). Camera Raw keeps going, and the paper is specific about how far: it "can provide additional usable data down to a -1.00 to -2.00 range and sometimes even more", and because the data comes from only one or two surviving channels, "Camera Raw returns the image data as luminance information".
Two things follow. Past the point where the first channel clips you get roughly one to two stops back, sometimes more. What comes back is brightness without full colour, so the fabric may stop glowing while its texture and colour stay gone. Once all three channels have clipped there is no surviving channel to read, and nothing comes back at all. That document is from 2004, and the channel behaviour is the durable part of it. We found no 2026-dated Adobe source restating the recovery figure for current sensors, so treat the number as historically documented.
At the dark end the failure is a different kind. Christian Möhrle puts noise first in the order of operations for rescuing an underexposed raw file, in a workflow written up by Alex Cooke at Fstoppers: once you pull real detail out of near-black areas, "the grain you could ignore at normal brightness becomes the main subject" (Fstoppers). Shadow regions hold a low ratio of real signal to sensor noise, so brightening them amplifies both at once. Colour accuracy degrades alongside it. Our own reading is that this is what a grey or tinted lift on skin looks like; no source we opened explains the mechanism behind the colour shift.
An estimate and a measurement of what the sensor holds
Matt Williams, writing at PetaPixel, estimates current hardware at "roughly thirteen to fifteen stops under ideal conditions" (PetaPixel). Roger N. Clark measured about 12.3 stops of excellent image quality on a Canon 1D Mark II, a professional body from the mid 2000s, with usable data out to 14.3 stops (ClarkVision). The zone convention puts a textured dress two or three stops above a reading off the fabric, which is a small share of either budget. Where the face lands is not something the sources we opened measure, so take your own spot reading before deciding the sensor is the problem.
Williams draws a conclusion from his own figure that applies directly to this frame: "Light selection, composition, timing, and interpretation matter far more than whether the sensor offers another fraction of a stop in shadow recovery". Chris Gampat, editor in chief of The Phoblographer, makes the practical version of the same argument and recommends fixing light and colour at capture, with a reflector, ahead of correcting afterward (The Phoblographer). Most of what follows is for the frame you already have.
ShopOmilia's presets were built from Omilia's own client work, and every product page runs drag-to-compare before and after images.
One exposure, two tone curves
The tool that answers this specific problem is newer than the problem. Julieanne Kost, Principal Digital Imaging Evangelist for Photoshop and Lightroom at Adobe, recorded the relevant expansion in an update dated 18 April 2023, writing that Camera Raw could now "automatically generate two new types of people masks" covering facial hair and clothes (Julieanne Kost).
A face mask and a clothes mask can be generated from one exposure and adjusted independently, which means the face and the fabric can carry different exposure, contrast and highlight settings out of a single capture decision. The older answer was to process the same raw file twice at different exposures and blend the two by hand, which is the workflow Schewe's 2004 paper describes.
A mask redistributes what the single exposure already recorded, so a masked face still carries the noise of the region it came from. The two-pass blend demosaiced and denoised the same file twice, once at each exposure setting. Our own reading is that where the face sits deep in the noise, a mask will match the tones while the grain stays visible; no source we opened tests the two workflows against each other.
One more caution. Adobe documents these masks, and nobody we could find has published a test of how accurately they separate a deep skin face from an adjacent white dress. Turn on the mask overlay, check the boundary where the face meets the fabric, and refine by hand where it bleeds. If the face still reads too dark, the brightening technique that does not lighten the person is next.
The white balance advice contradicts itself
Published advice on this splits in two directions, and this section names both without choosing between them. Gampat gives one direction from his own practice, hedged as he wrote it: "So generally speaking, whiter skin goes for a warmer white balance. And darker skin goes for cooler white balance", explaining that "Cameras register our skin tones with orange, but we're a very dark orange according to cameras" (The Phoblographer). Other pages ranking for these questions recommend warming the balance for deeper skin instead. We do not link those pages, so read the split as our own reading of the search results on 27 September 2026.
Neither side names the variable its rule depends on. Our own reading is that each rule reflects the light its author was shooting under rather than the skin in front of the camera, and no source we opened states this, so test it on your own files. Open shade under a blue sky and direct noon sun are different colours of light. Set white balance from something neutral in the scene, then judge it on the face, which is the approach the white balance guide works through in detail.
The order to work in
- At capture, expose so the brightest textured area of the dress sits below clipping. Sánchez's practical test for that point is to raise exposure until the camera's highlight warning "slightly blinks" on that area.
- In Lightroom's Basic panel, set white balance off something neutral in the scene. Do not use the dress as the neutral. Judge the result on the face.
- Denoise before lifting anything, per Möhrle's order, so you judge tone on a clean image rather than against grain.
- Open the Masking panel, create a People mask, and take Face Skin and Clothes as two separate masks. Give each region its own exposure, contrast and highlight values.
- Check the mask boundary where the face meets the fabric before trusting the selection.
- Judge the finished frame by how the person looks on a calibrated screen. The histogram cannot tell you whether the face reads correctly.
If step 1 was already lost on the day, check for it before you spend an hour masking. A dress clipped in all three channels gives back nothing, because recovery works only while at least one channel is still unclipped, and no amount of masking recovers what the sensor did not record.
Before you export, inspect the face at 100 percent for noise and check the mask edge for spill onto the dress. Pack a reflector for the next shoot.
Questions people ask
- Should I expose for the dress or the face?
- For the dress. Once one channel clips, Adobe's paper describes roughly one to two stops coming back as brightness without full colour, and once all three clip nothing comes back. An underexposed shadow still holds colour data that noise reduction can make usable. Meter the brightest textured fabric, then lift the face with a mask.
- Why does lifting the shadows make skin look grey or green?
- Shadow areas carry a low ratio of real signal to sensor noise, so brightening them amplifies both together, and colour accuracy degrades alongside the grain. No source we opened explains the mechanism behind the colour shift, so this guide reports the effect and leaves the cause open. Run noise reduction before you lift.
- Should I edit dark skin warmer or cooler in harsh sun?
- Published advice contradicts itself here and this guide does not settle it. One named photographer recommends a cooler balance for deeper skin, while other pages on the same queries recommend warming it. Our reading is that the deciding variable is the colour of the light falling on the subject, so set it from a neutral and judge on the face.
- Is a modern camera's dynamic range enough for this shot?
- Probably, though nothing here settles it for your scene. One writer estimates current full frame sensors at roughly thirteen to fifteen stops, and one measured test of a mid 2000s professional body returned about 12.3. The sources we opened publish no separation for a real dress and a real deep skin face, so spot meter your own.